Showing posts with label Budgeting. Show all posts

Sunday, June 5, 2011

Six on Sunday: Time, Energy, & $$$ Saving Meal Tips

One of the things I strive for as a wife is to make delicious meals for Mr G. I'll admit we've resorted to Ramen Noodles many times for the sake of budget or time (and sometimes Mr G requests them!), but overall I like to cook as much from scratch as possible. It is a little difficult to accomplish this every day with our work schedules but, here are some time and energy saving tips I've learned that at least help make meal prep easier.
  1. Have a plan: At the beginning of each week, take a few minutes and jot down menus, assigned to a specific day, based on your whatever your  upcoming schedule may look like. Then make your grocery list. This will save both time and money, since you won't wonder and wander at the grocery store. The easiest way to spend too much money is not having a focused list for very specific items.  
  2. Prepare multiple meals: When cooking casseroles, meats (chicken & turkey work the best) soups, sauces or just about anything else that will freeze well, make two more meals at a time. My favorite is to make lasagna for dinner for tonight, then make another to put in the freezer for later. 
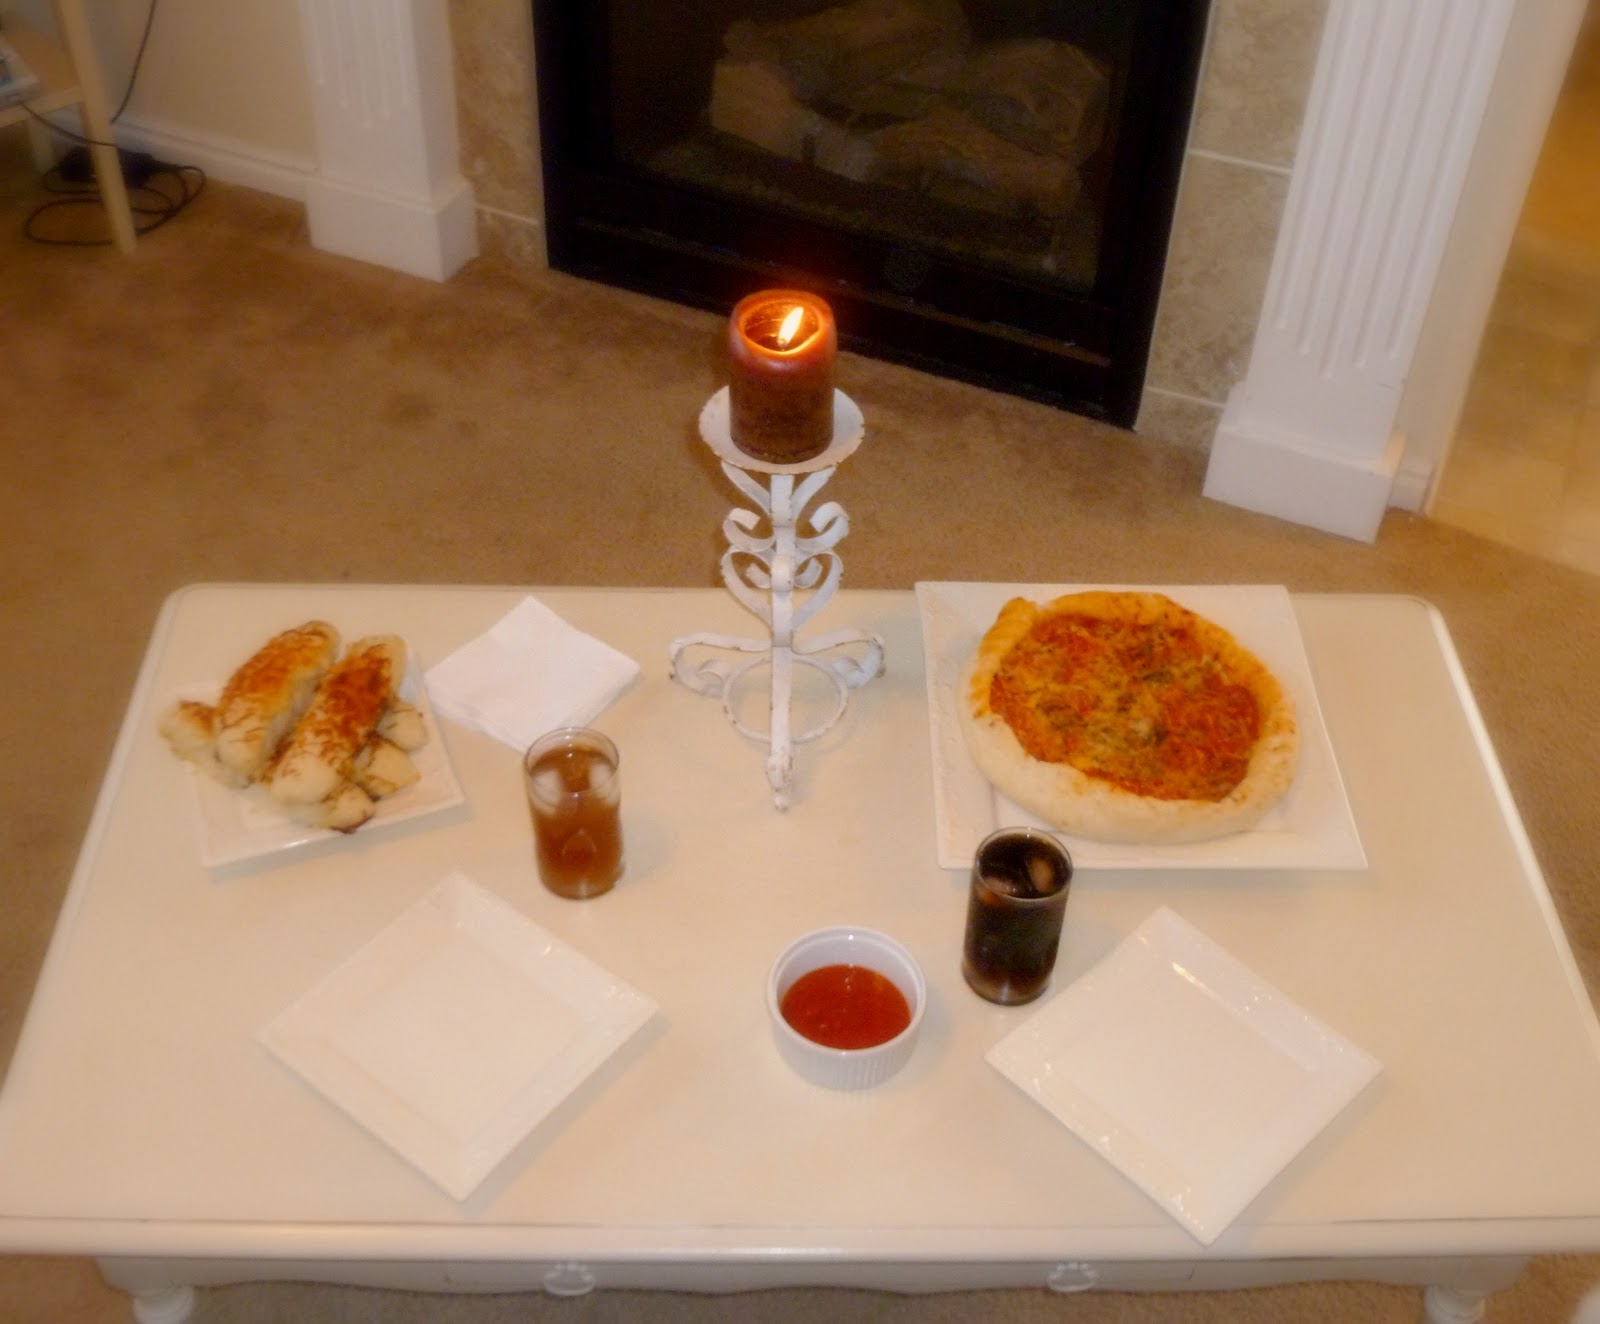
  3. Freeze homemade baked goods: I make a huge batches of fully baked cookies, rolls, bread sticks and cinnamon rolls(these stay in dough form) every time I get the chance. It's just not worth it to take the time to make homemade yeast breads for 2 people, so the extras go in the freezer to later pull out to thaw in the microwave or oven when needed.
  4. Pre-Chop your vegetables & fruit: This works well if you have your menu planned for the week since you will already know their uses. When you get home from the store, just chop what you can and put them in baggies for the weeks use. Just be careful with vegetables or fruits that brown easily. Those should always be chopped at the last minute.
  5. Don't be afraid to buy in bulk: Even with only the two of us, it's still worth it to buy in bulk. Just utilize your freezer! It will save you time from the grocery store and can save you money if you buy things at the right price. If you are like me, I'd rather NOT spend my time in the grocery store.
  6. Left overs are OK!: Yes, it's okay to pick one night per week that you eat up the remnants from your meals. You can either create something new with those leftovers, or just have samplings of each thing. The key to staying in budget is not to be wasteful!
Here is what our last week's menu looked like, so you get an idea how I used these tips.

Monday: Turkey Fettuccine Alfredo with Veggies, Homemade Bread Sticks :
I used fully cooked and chopped turkey from the freezer, and chopped broccoli and cauliflower from the fridge. I also made the bread sticks from scratch this time, but put 1 dozen extras in the freezer for later.

Tuesday: Taco Salad in Homemade Tortilla Cups : 
I used ground beef purchased in bulk 3 months ago!

Wednesday: Dinner at Family's

Thursday: Leftovers :
From Monday's meal and the previous weekend

Friday: BLTs on Homemade Rolls, Green Salad & Fresh Pineapple :
Used frozen dinner rolls from the freezer, and bacon that I had stocked up on 2 months ago.

What you'll currently find in my freezer:
Chili Verde Green Sauce
Enchilada Red Sauce
Alfredo Sauce
1 dozen Italian Breadsticks
1 pan of frozen Cinnamon Rolls (still in dough form)
1 dozen Whole Wheat Dinner Rolls
Stocked Ground Beef
Stocked Chicken Thighs
Frozen Egg Whites

Please comment and share your meal tips, I'd love to hear them!


Tuesday, May 31, 2011

Don't worry, I haven't completely disappeared... at least not yet.

It's been quite the month since my last post, and well, God is still working in my heart, despite the changes that have come into our life. God's faithfulness is why I hope to keep blogging, even though my free time will now be at a minimum.

And, just because I like lists, that's the way I'll update today, maybe with more details later.

  • Mr G has embarked on a new career, and we couldn't be more excited. No more lonely weekends, or quiet evenings, since he won't have to work!
  • Mr. & Mrs. G went on their first road trip together. So far, it's my favorite memory of married life.
  • I purchased our first Bountiful Basket last week and we are absolutely loving it! It's really delicious produce for a great price, and it's inspiring me to cook better.
  • Speaking of things for a great price, I've started "couponing." My results have been small, but victory none the least in defeating our monstrous grocery bill. Mr. G has been helping me with it too, but that's a secret... so don't tell!
  • I've convinced Mr. G to try running with me. We're off to a good start, if you consider a good start the fact that his "jog" is my "sprint"?!
  • Mr. G has discovered that his new favorite dessert is my White Chocolate Raspberry Cheesecake. Olive Garden's will do too.
  • What I'm most excited about: our new season of life will make it possible for us to do everything (aside from work) together: visit with friends, hang out with family, serve at church, find steals of deals couponing, RUN! play Mr. G's new Wii, you know, those things best friends do together!

Monday, February 14, 2011

Pizza Love

Not that you won't see us occasionally dining at the nearest Olive Garden, or find a large bouquet of roses on my kitchen table, but sometimes a quiet night at home is my kind of romance. (As a disclaimer, we DID go on a early Valentine's Date last week to the city... and my amazing husband did buy me a pair of boots. I absolutely don't want any ideas floating around that my man doesn't spoil me very frequently!)


If there is one thing we've missed lately it's PIZZA, and somehow it just doesn't fit into our food budget often! I decided to splurge and make a partially from scratch pizza, but with this recipe I made two pizzas and bread sticks that lasted us for two meals for around $6.00. 

Maybe pizza will find it's way back into our lives?!

Pizza Crust

1/2 cup warm water (about 110 degrees)
1 envelope (about 2 1/4 teaspoons) instant yeast
1 1/4 cups water, at room temperature
2 tablespoons extra-virgin olive oil
4 cups (22 ounces) bread flour, plus more for dusting work surface and hands
1 1/2 teaspoons salt
Olive oil or nonstick cooking spray for oiling the bowl
1. Measure the warm water into a 2-cup liquid measuring cup. Sprinkle in the yeast and let stand until the yeast dissolves and swells, about 5 minutes. Add the room-temperature water and oil and stir to combine.
2. Process the flour and salt in a large food processor (only use a food processor if your model is at least 11 cup capacity and heavy duty enough for bread kneading. No burnt up motors, please!), pulsing to combine. Continue pulsing while pouring the liquid ingredients (holding back a few tablespoons) through the feed tube. If the dough does not readily form into a ball, add the remaining liquid and continue to pulse until a ball forms. Process until the dough is smooth and elastic, about 30 seconds longer.
3. The dough will be a bit tacky, so use a rubber spatula to turn it out onto a lightly floured work surface. Knead by h and for a few strokes to form a smooth, round ball. Put the dough into a deep oiled bowl and cover with plastic wrap. Let rise until doubled in size, 1 1/2 to 2 hours. Press the dough to deflate it.
Pizza Dough Kneaded by Hand
Follow the recipe for Pizza Dough through step 1. Omit step 2 and instead combine the salt and half the flour in a deep bowl. Add the liquid ingredients and use a wooden spoon to combine. Add the remaining flour, stirring until a cohesive mass forms. Turn the dough onto a lightly floured work surface and knead until smooth and elastic 7 to 8 minutes, using as little dusting flour as possible while kneading. Form the dough into a ball, put it in a deep oiled bowl, cover with plastic wrap, and proceed with the recipe.
Pizza Dough Kneaded in a Standing Mixer
Follow the recipe for Pizza Dough through step 1. Omit step 2 and instead place the flour and salt in the bowl of a standing mixer fitted with the paddle. Briefly combine the dry ingredients at low speed. Slowly add the liquid ingredients and continue to mix at low speed until a cohesive mass forms. Stop the mixer and replace the paddle with the dough hook. Knead until the dough is smooth and elastic, about 5 minutes. Form the dough into a ball, put it in a deep oiled bowl, cover with plastic wrap, and proceed with the recipe.


This is where I took my own liberties with the recipe, mostly meaning I have NO exact directions to give you, but I'll give it a shot anyway.

Remaining Ingredients:
1 - 2 cups pizza sauce, either homemade or store bought
1 cup sharp cheddar, grated
1 cup mozzarella, grated
2/3 package of pepperoni slices
1 cup prepackaged italian cheese blend
1/4 cup margarine, melted

To finish the pizza:
Preheat oven to 500 degrees.

Divide dough into 3 parts. With two of the part pat and stretch the dough out with your hands to about 14 inches in diameter. Do not use a rolling pin to flatten the dough. Place dough onto a large baking sheet or stone. Spread pizza sauce(use your own judgement, but do not overload the pizza), cheddar, mozzarella and pepperoni slices over crust.

Before placing pizzas in oven, turn it down to 425 degrees, then place pizza on lowest rack of oven. Bake for about 15 minutes, sprinkle italian cheese mixture over the tops and bake for another 2-5 minutes until bubbly. Remove from oven and let sit for 5 minutes before slicing and serving.
 To finish the bread sticks:
Divide remaining third of dough into five pieces. Roll into an oblong shape and place in baking pan. Brush a good amount of the melted margarine over the top, then sprinkle with Italian cheese. Bake at 425 degrees for 15-20 minutes.